Restoring a Gerstner Toolbox
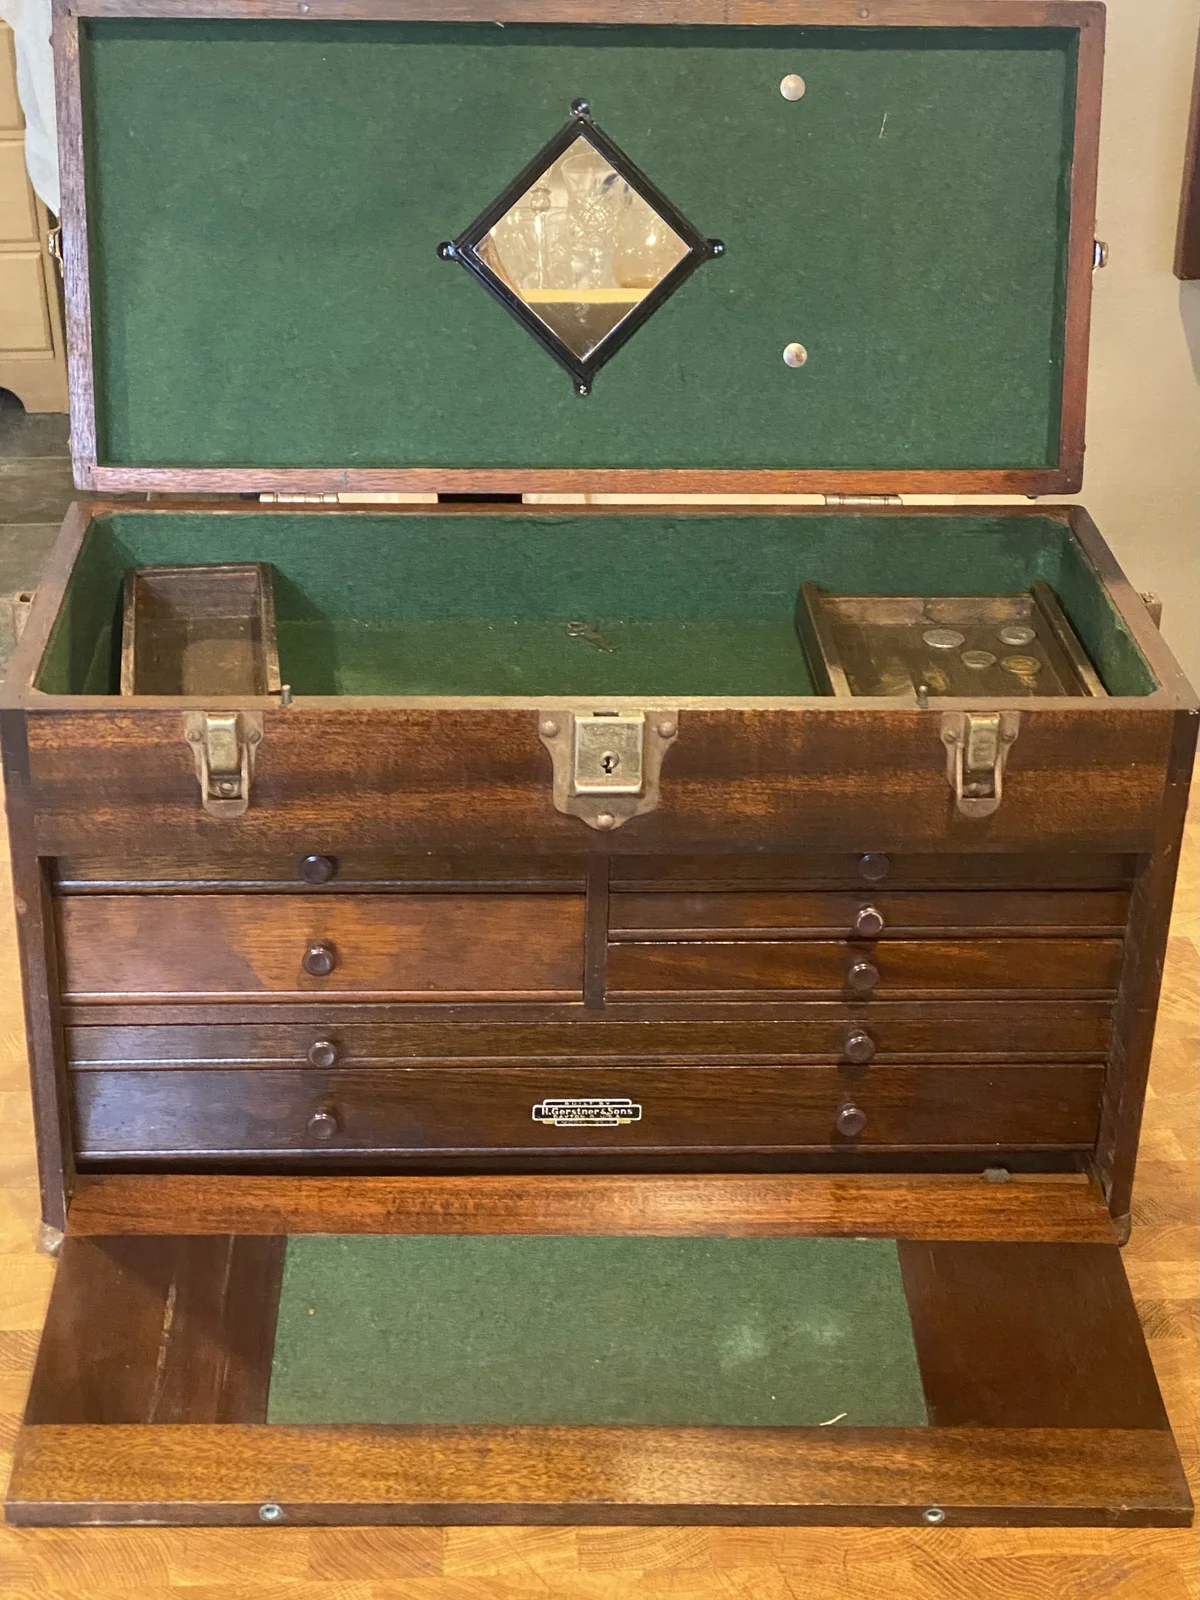
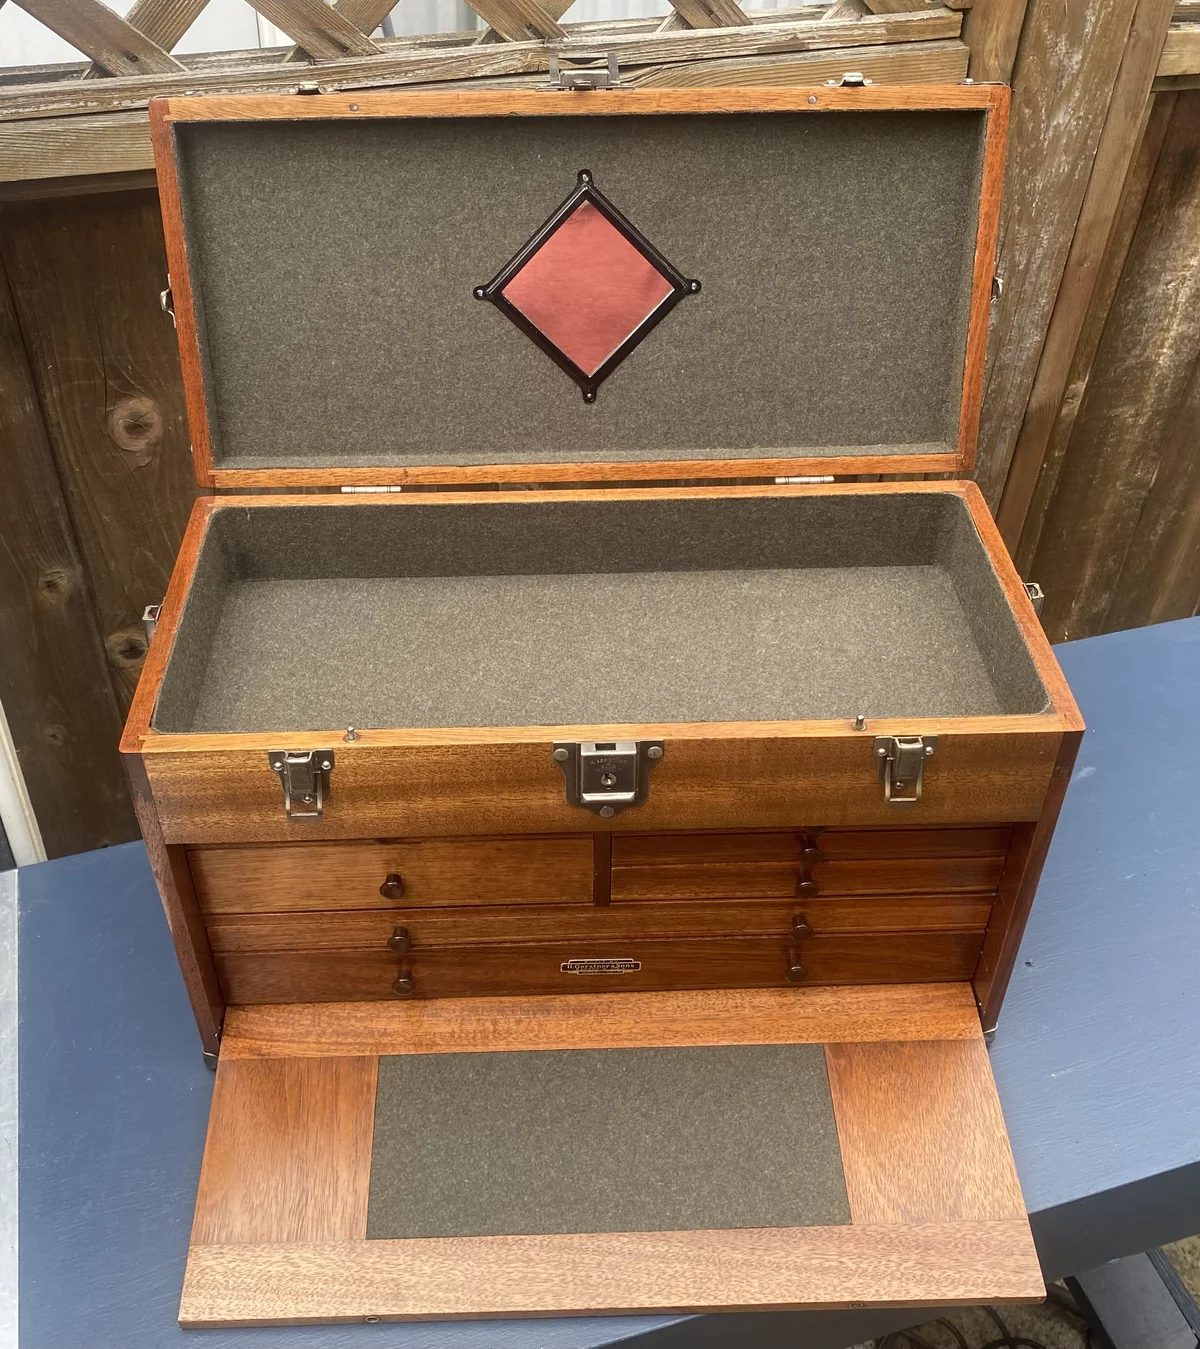
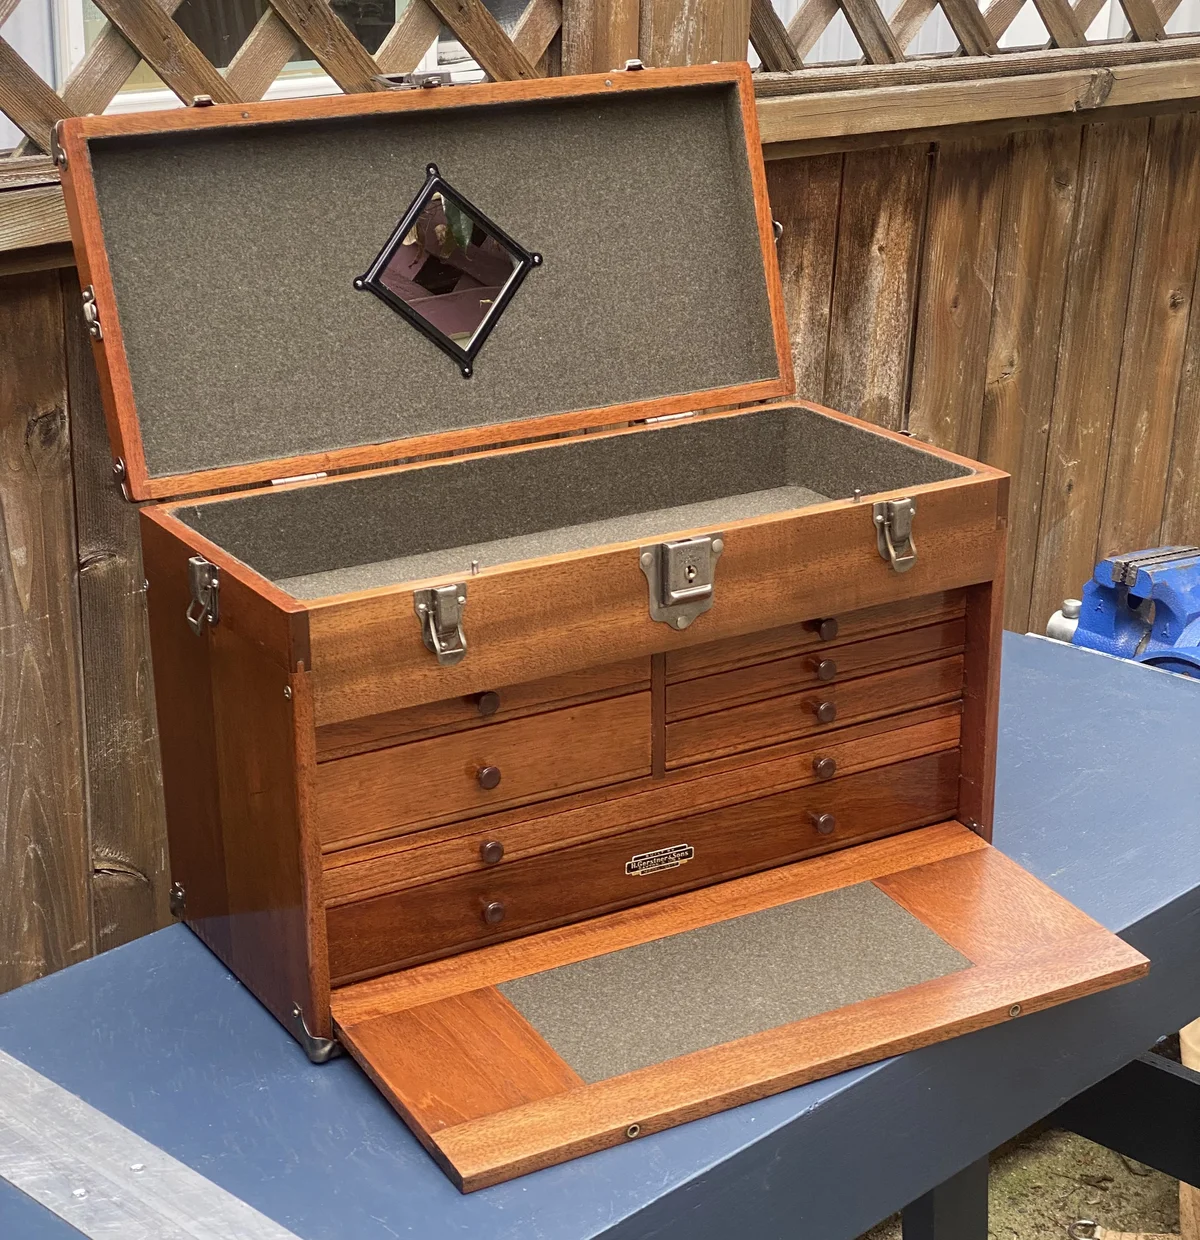
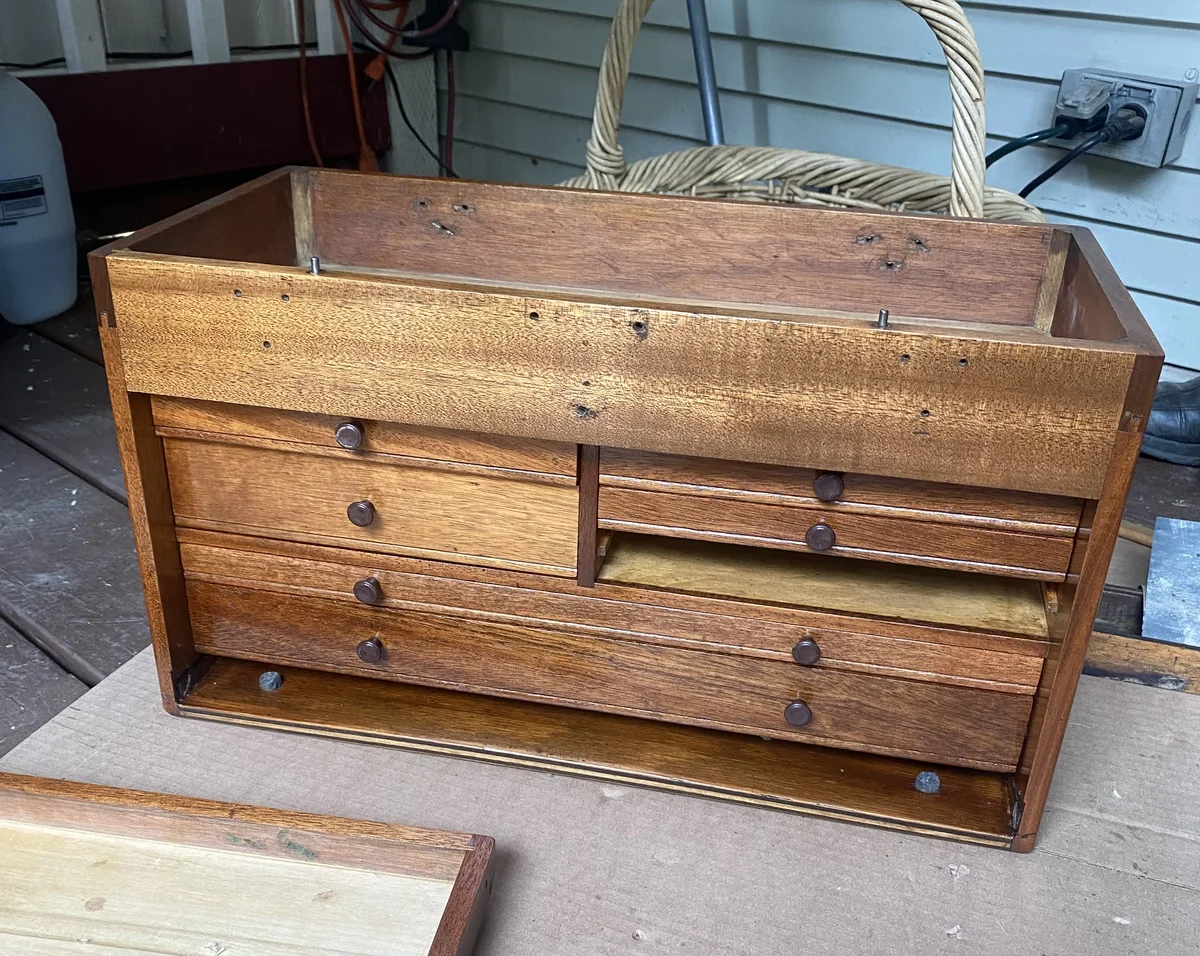
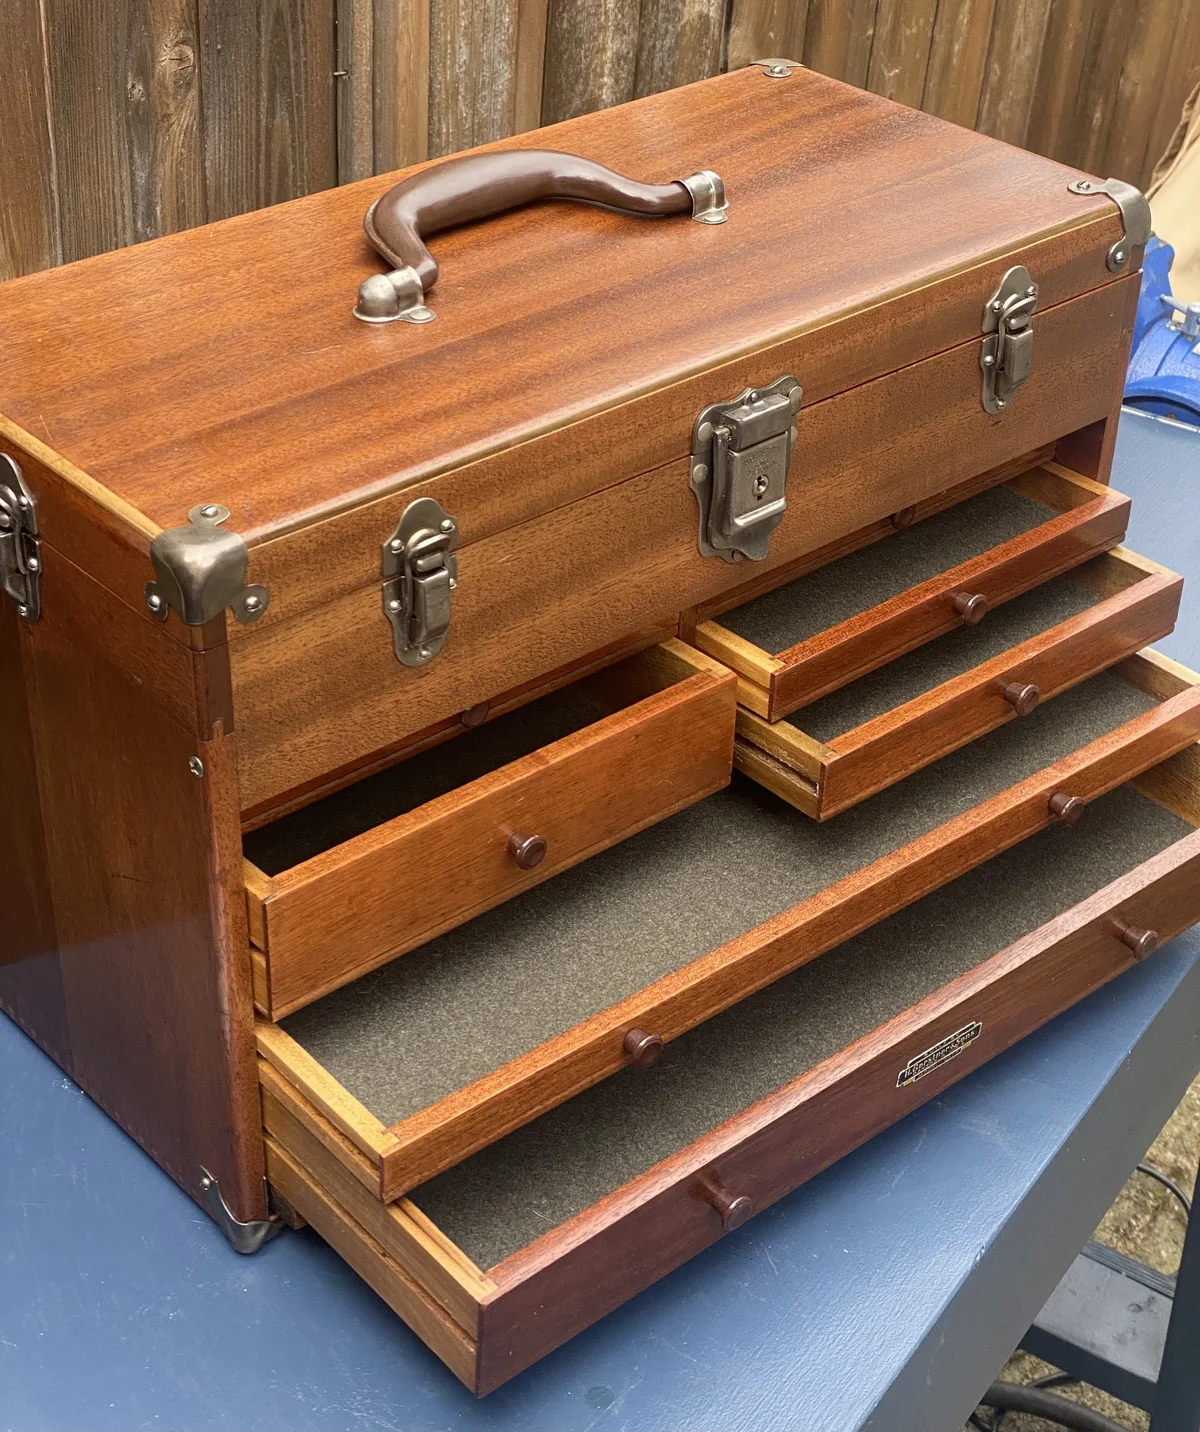
![]() I recently got a Gernster toolbox that had been sort of in the family. The former owner was a machinist back in the 60’s, but the toolbox had been sitting in a damp basement for a long time. The wood was in pretty good shape, but hardware was corroded, and the felt lining smelled nasty. I decided to restore it. I wasn’t particularly concerned about keeping it original, so I didn’t bother using Gerstner felt or their finish. I also didn’t want to replace the hardware if at all possible. Buying all new latches, hinges, and corners would have gotten expensive. Plus, I wanted it to look like a vintage toolbox, not a new one. So I ended up replating the hardware with nickel. Here is the finished result. I’ll show some of the progress pics afterwards.
I recently got a Gernster toolbox that had been sort of in the family. The former owner was a machinist back in the 60’s, but the toolbox had been sitting in a damp basement for a long time. The wood was in pretty good shape, but hardware was corroded, and the felt lining smelled nasty. I decided to restore it. I wasn’t particularly concerned about keeping it original, so I didn’t bother using Gerstner felt or their finish. I also didn’t want to replace the hardware if at all possible. Buying all new latches, hinges, and corners would have gotten expensive. Plus, I wanted it to look like a vintage toolbox, not a new one. So I ended up replating the hardware with nickel. Here is the finished result. I’ll show some of the progress pics afterwards.

Refinishing the Wood
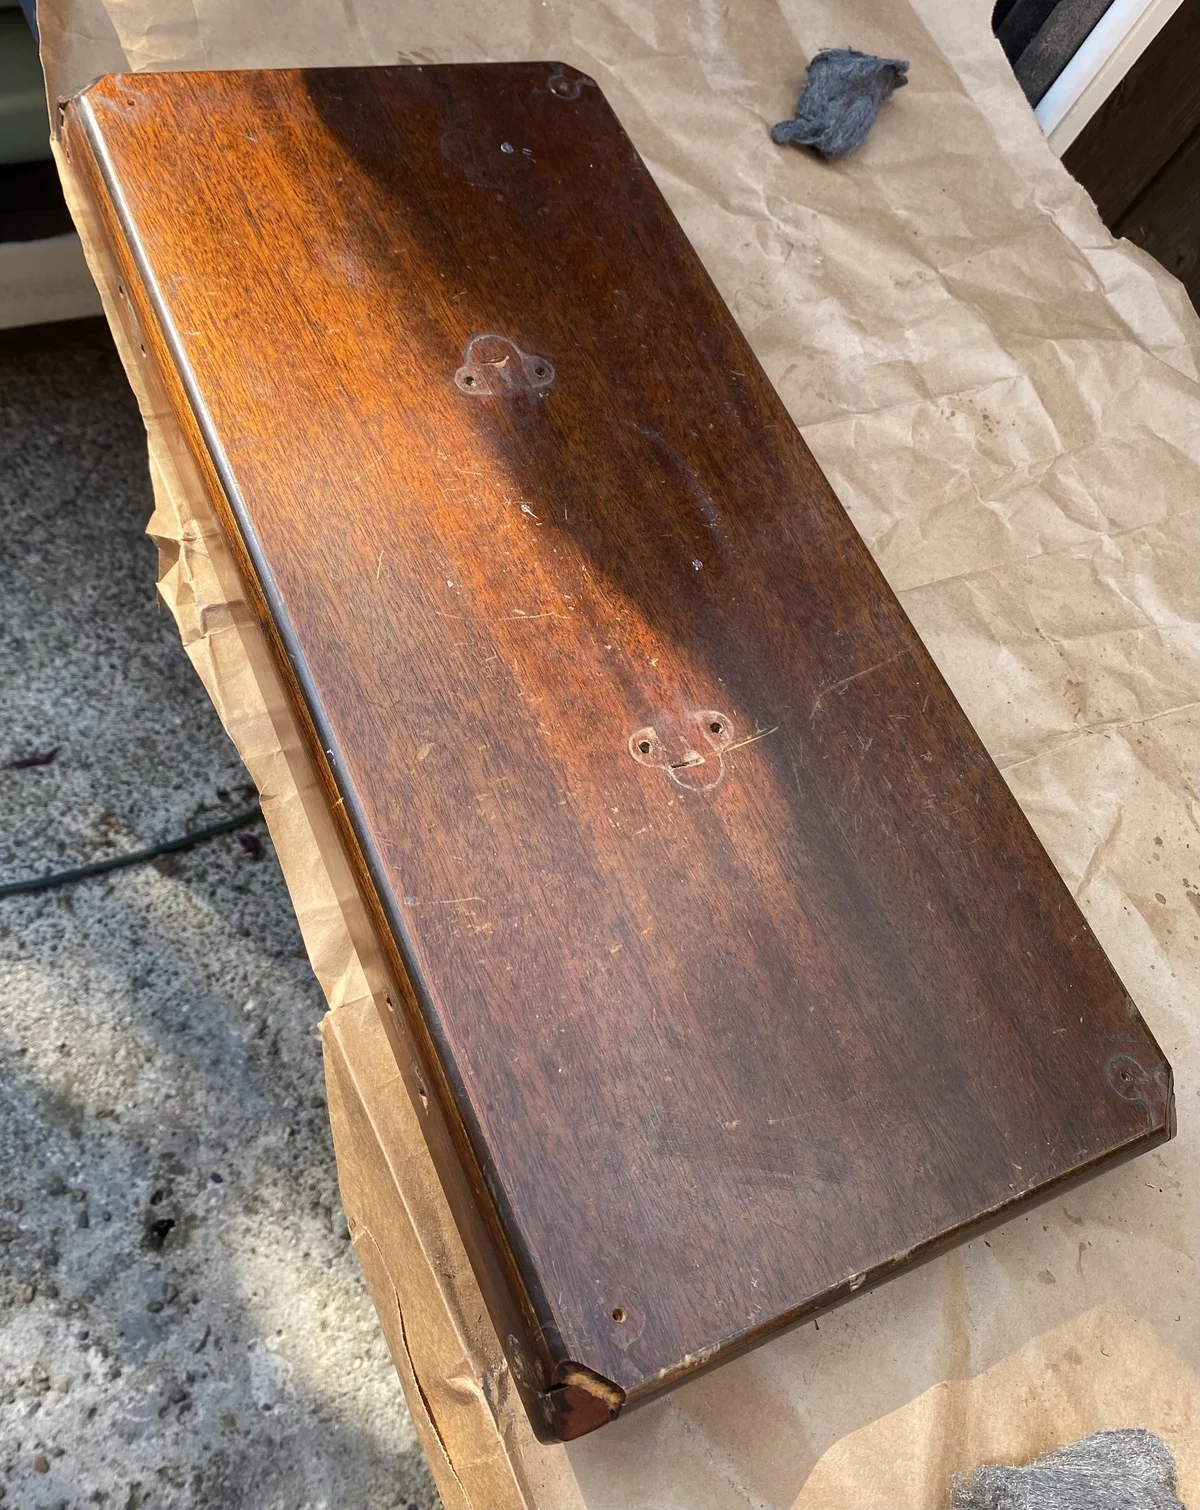
The wood was in decent condition.
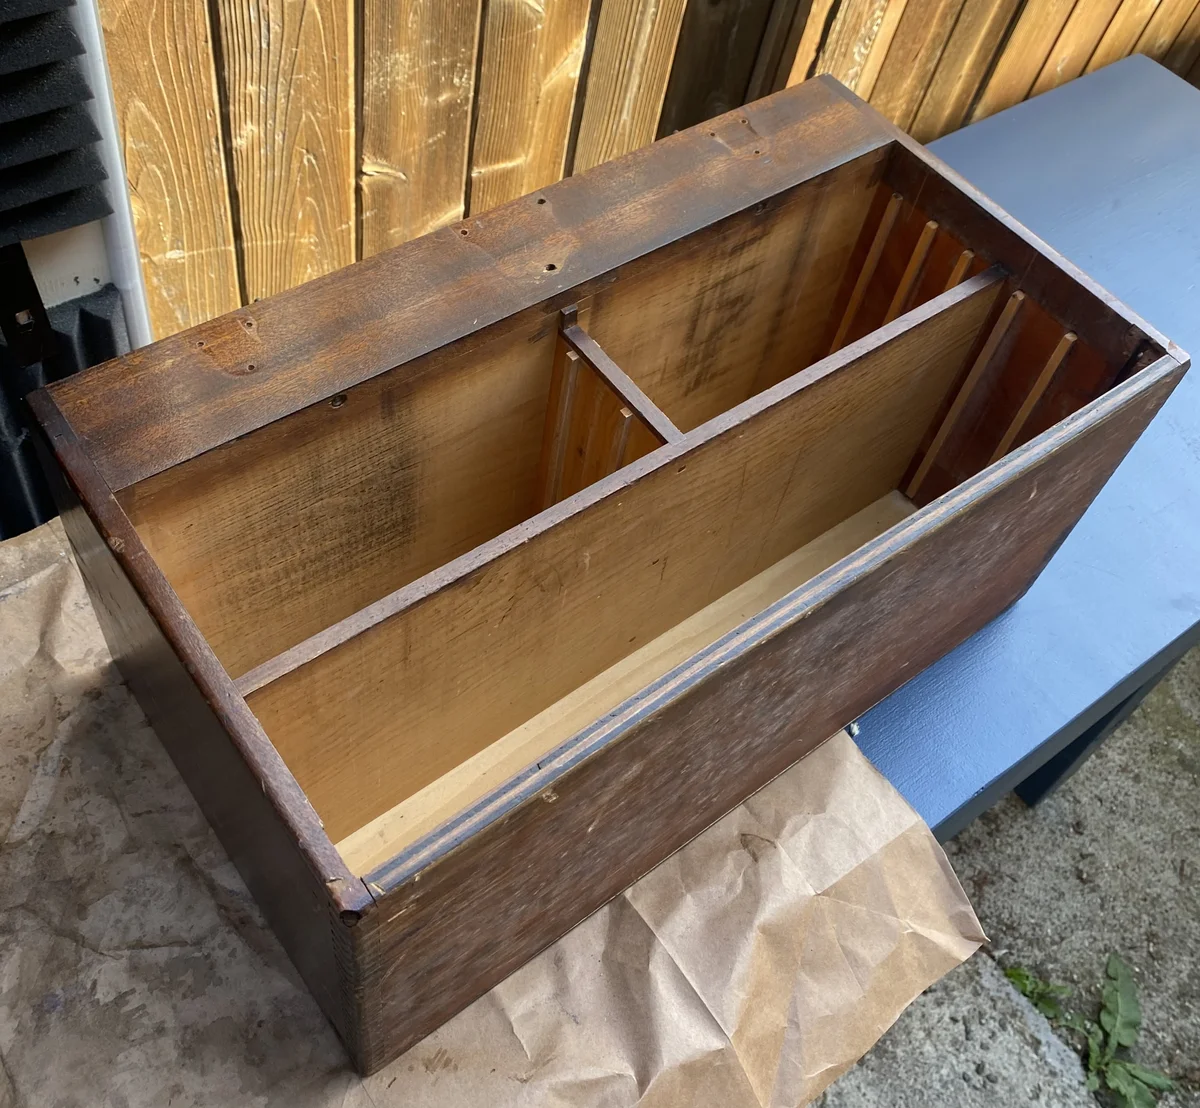 The bottom had some mildew stains and the box joints between the bottom and the sides had separated slightly. I put some wood glue in a fine-tip syringe and injected it into the gaps between the joints. I clamped it up for a day, and it held well.

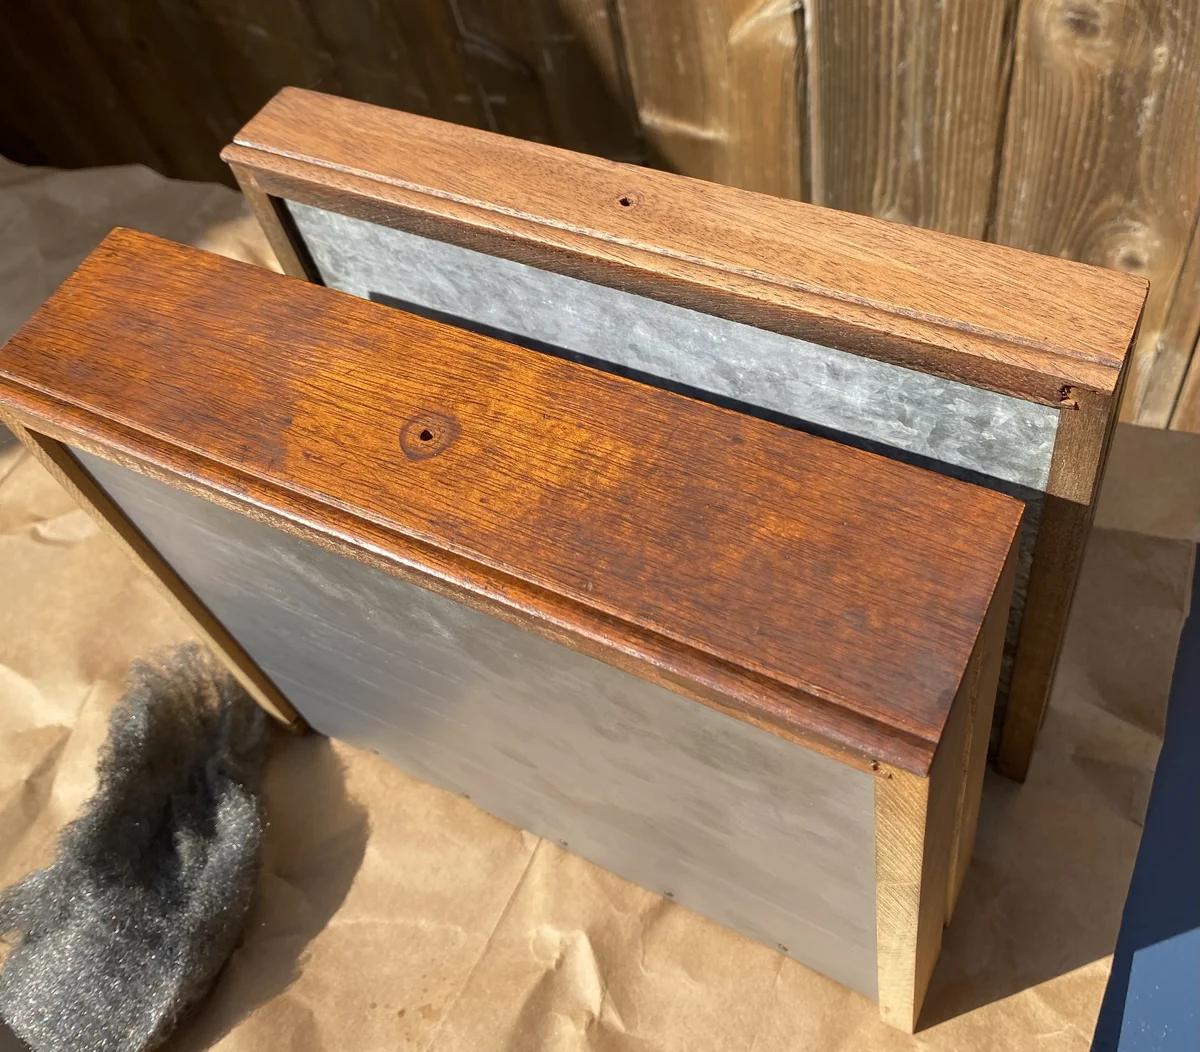
The finish was fairly worn, so I decided to strip the lacquer and apply a new top coat. I did very minimal sanding to mostly preserve the stain. I was also feeling paranoid that I might sand through the plywood vaneers. Lacquer thinner is some really toxic smelling stuff, but with good ventilation, it sure does the job.
Rather than lacquer, I opted for the oil-based Wipe-on Poly. It’s easy to apply and really durable. I want to be able to use this toolbox without feeling like I need to baby it. I applied 6-8 thin coats with a rag and some very light sanding in between coats. This is likely overkill, but I wanted a reasonably thick protective layer.
I also put some paste wax the contact surfaces of the drawers.
~
Re-plating the Hardware
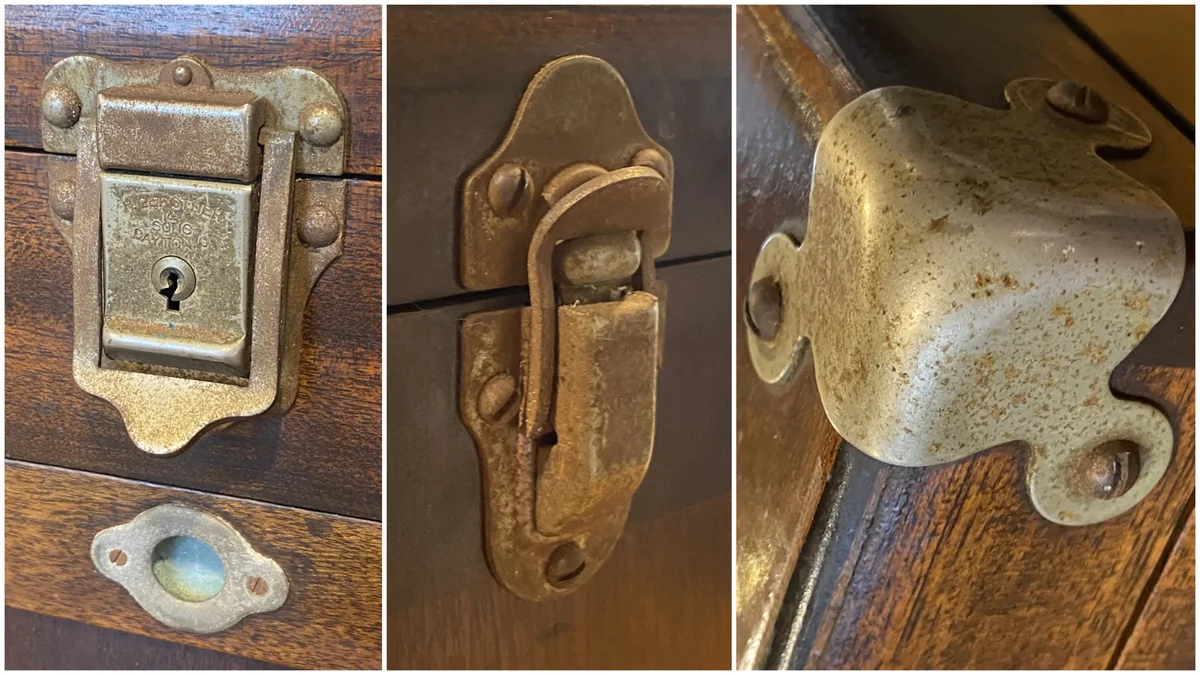
The latches, hinges, and corners were all in pretty rough shape. I couldn’t even tell if they were brass or nickel initially.
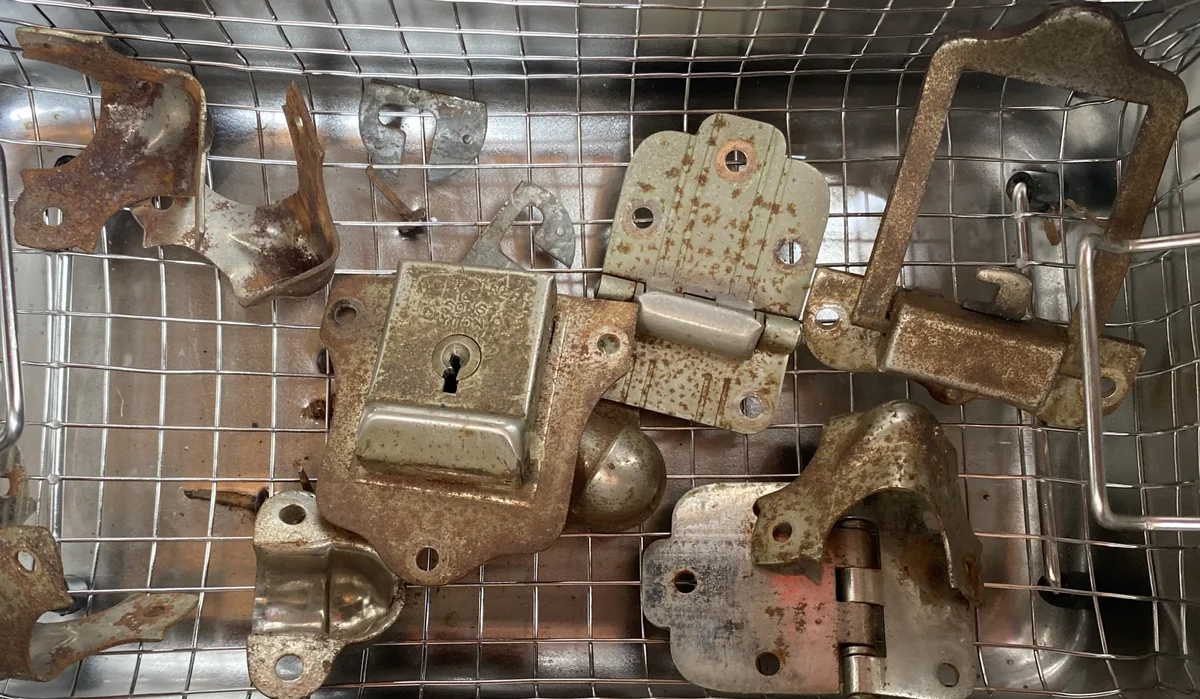
I tossed them in the ultrasonic cleaners with some Simple Green and water. This helped with years of grease and grime. I used some rust remover and a wire brush to remove the worst of the rust. I also used a dremel with a wire wheel to work on the more stubborn spots.
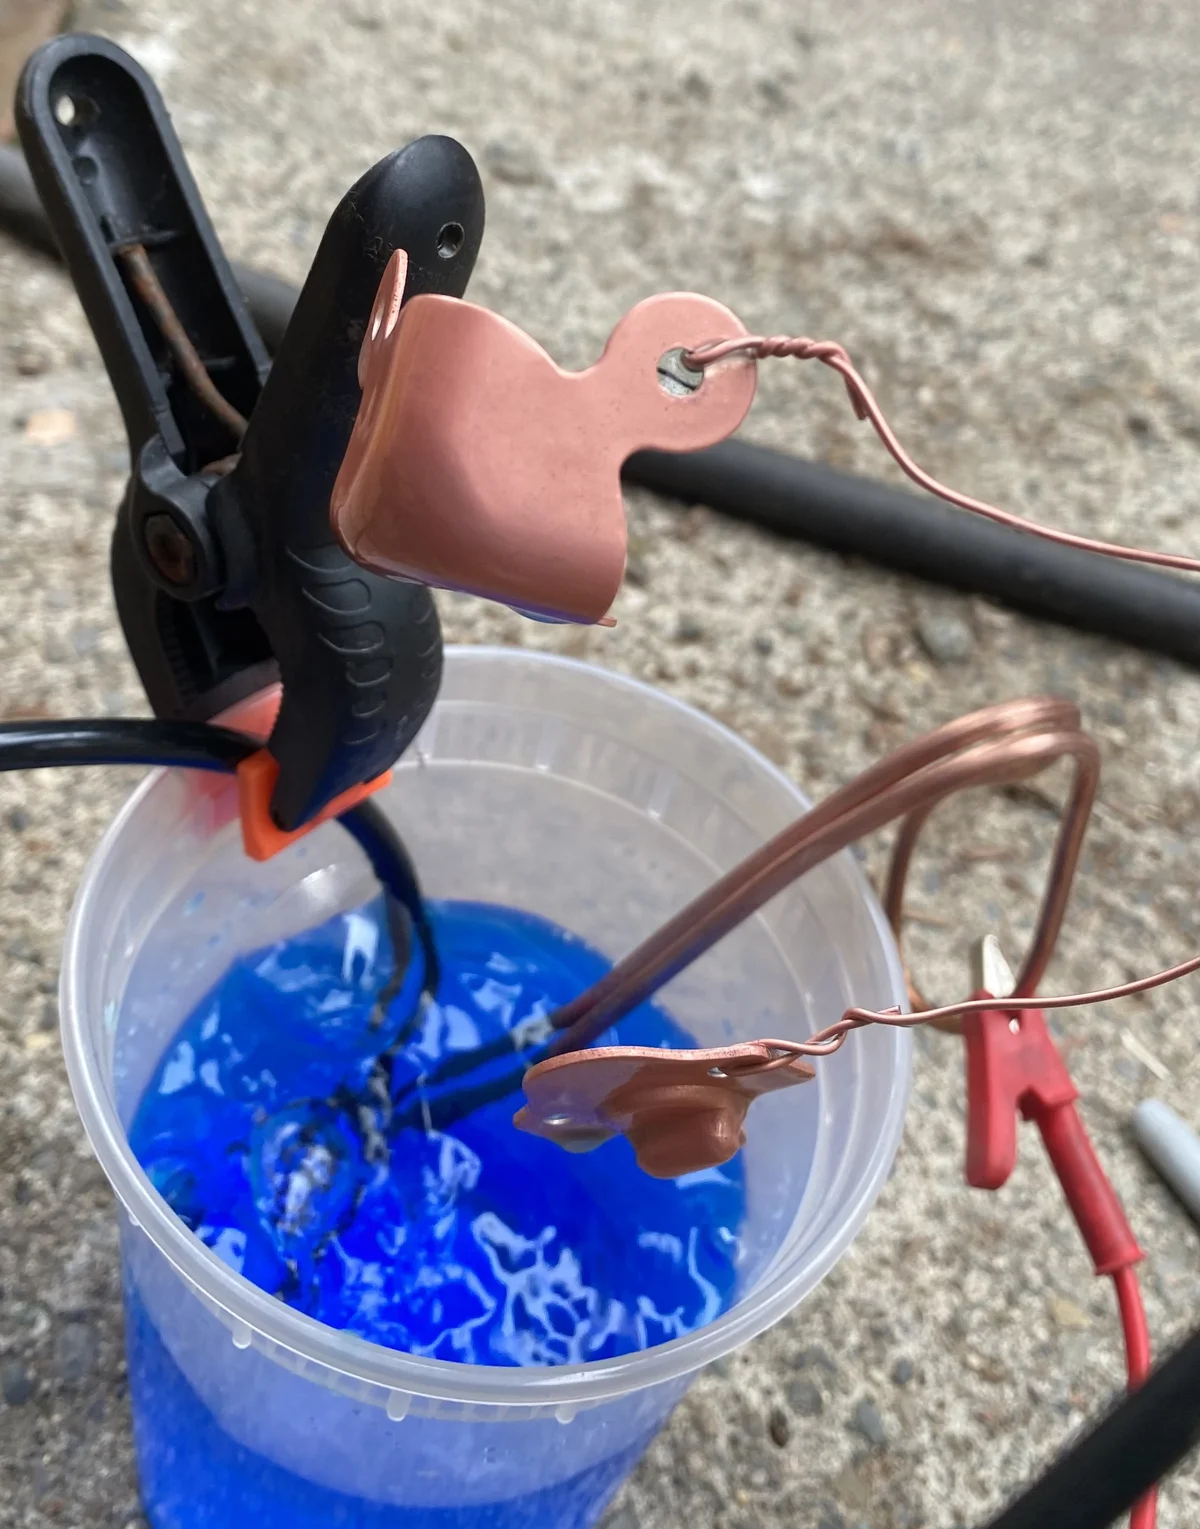
I decided to try to electroplate the hardware with a base layer of copper and a top layer of nickel. The copper is supposed to help with adhesion, as many plating metals don’t stick well to steel directly. I mixed up a solution with copper sulfate crystals, distilled water, and some sulfuric acid (battery acid).
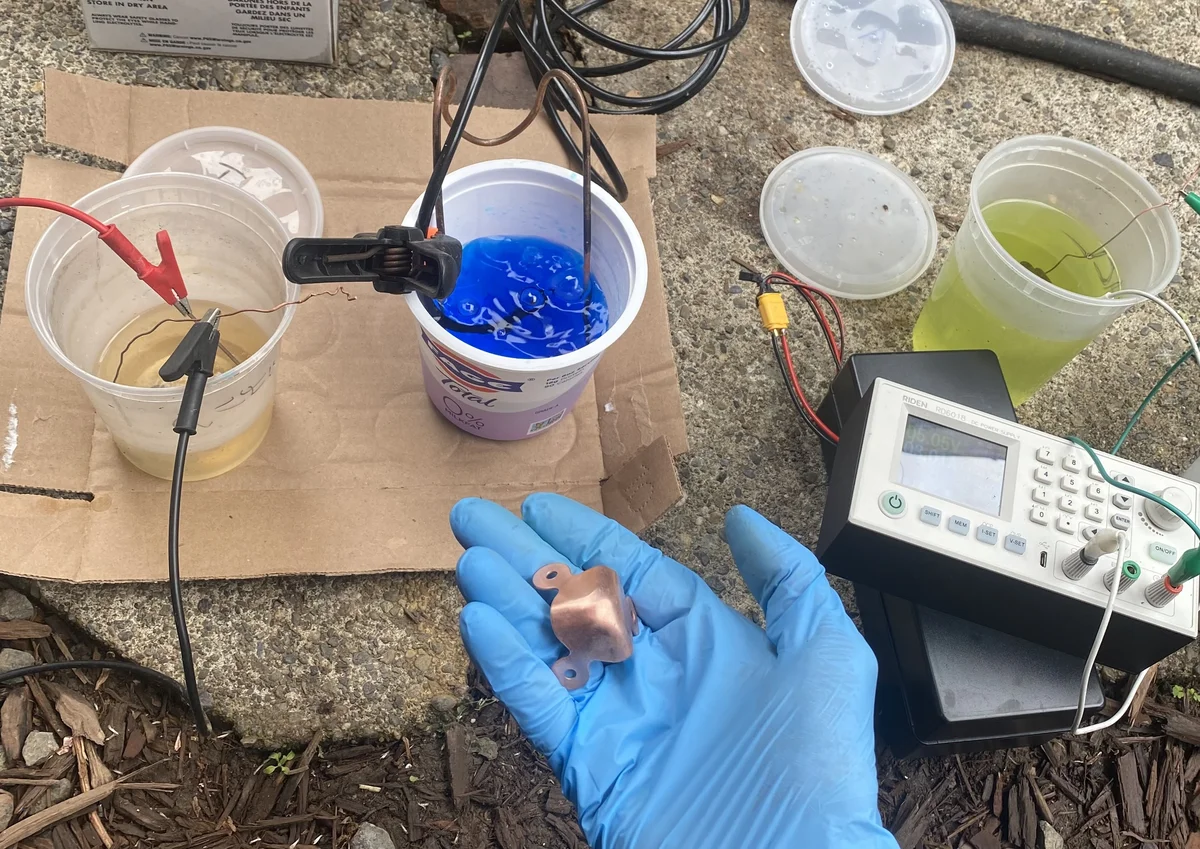
Before plating, I wiped the parts down with acetone to remove any oils, and dipped them in hydrochloric acid to pickle the surface. The parts come out of the acid looking very bright. They got rinsed in distilled water and put into the plating solution.
I used a thick copper wire as the anode, and the parts were the cathode. I used a variable power supply to control the current, and experimented with between 0.5 and 2 amps. I kept the solution agitated with an air hose connected to a compressor.
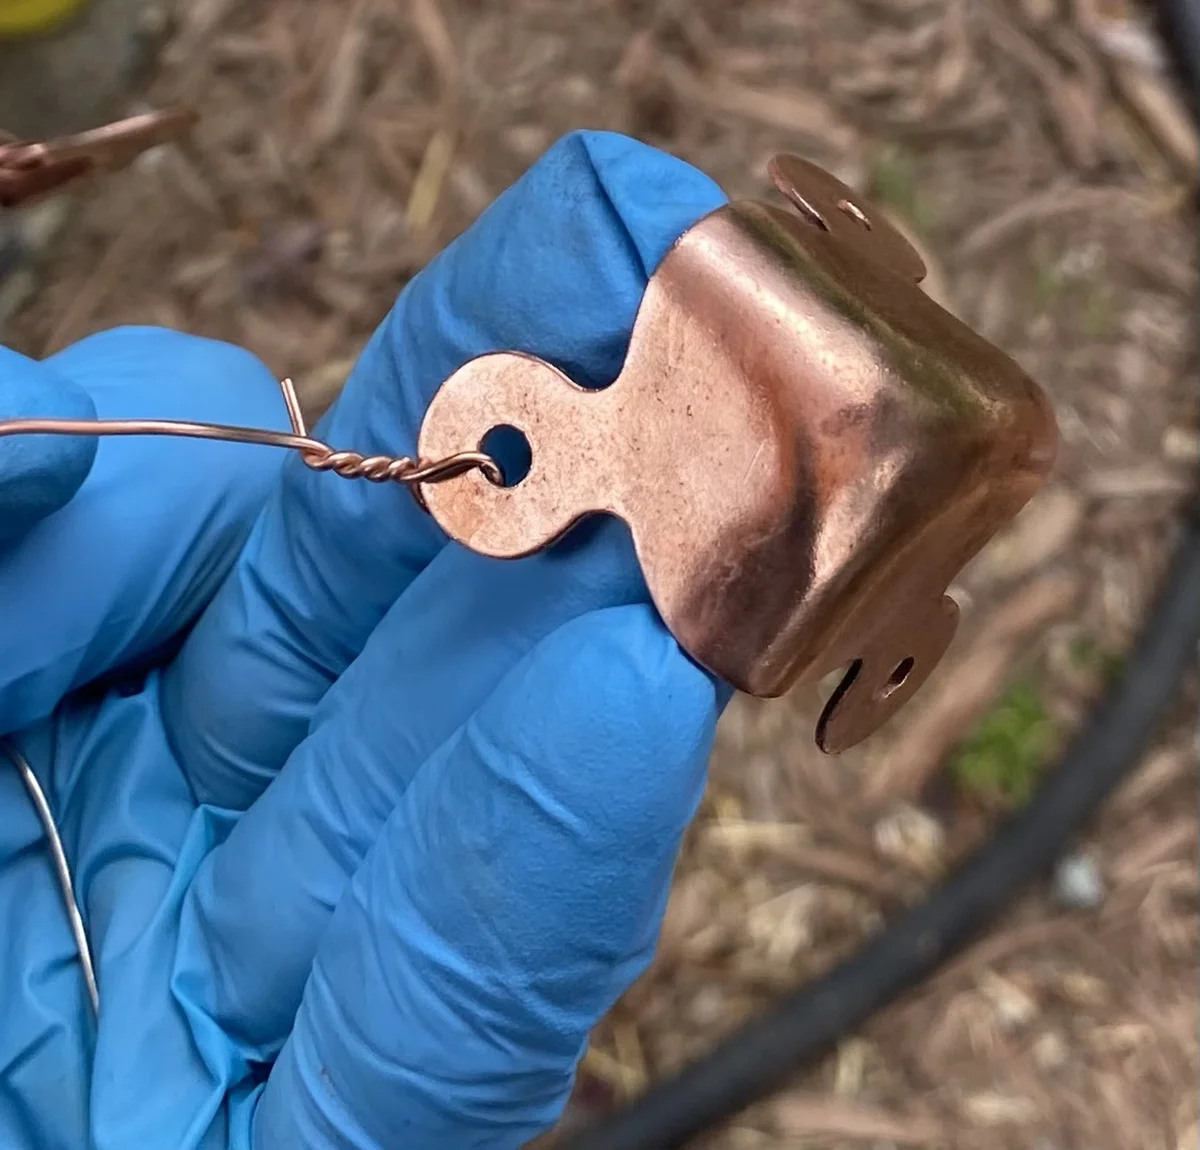
Some of the parts plated really well and looked great with a little polishing.
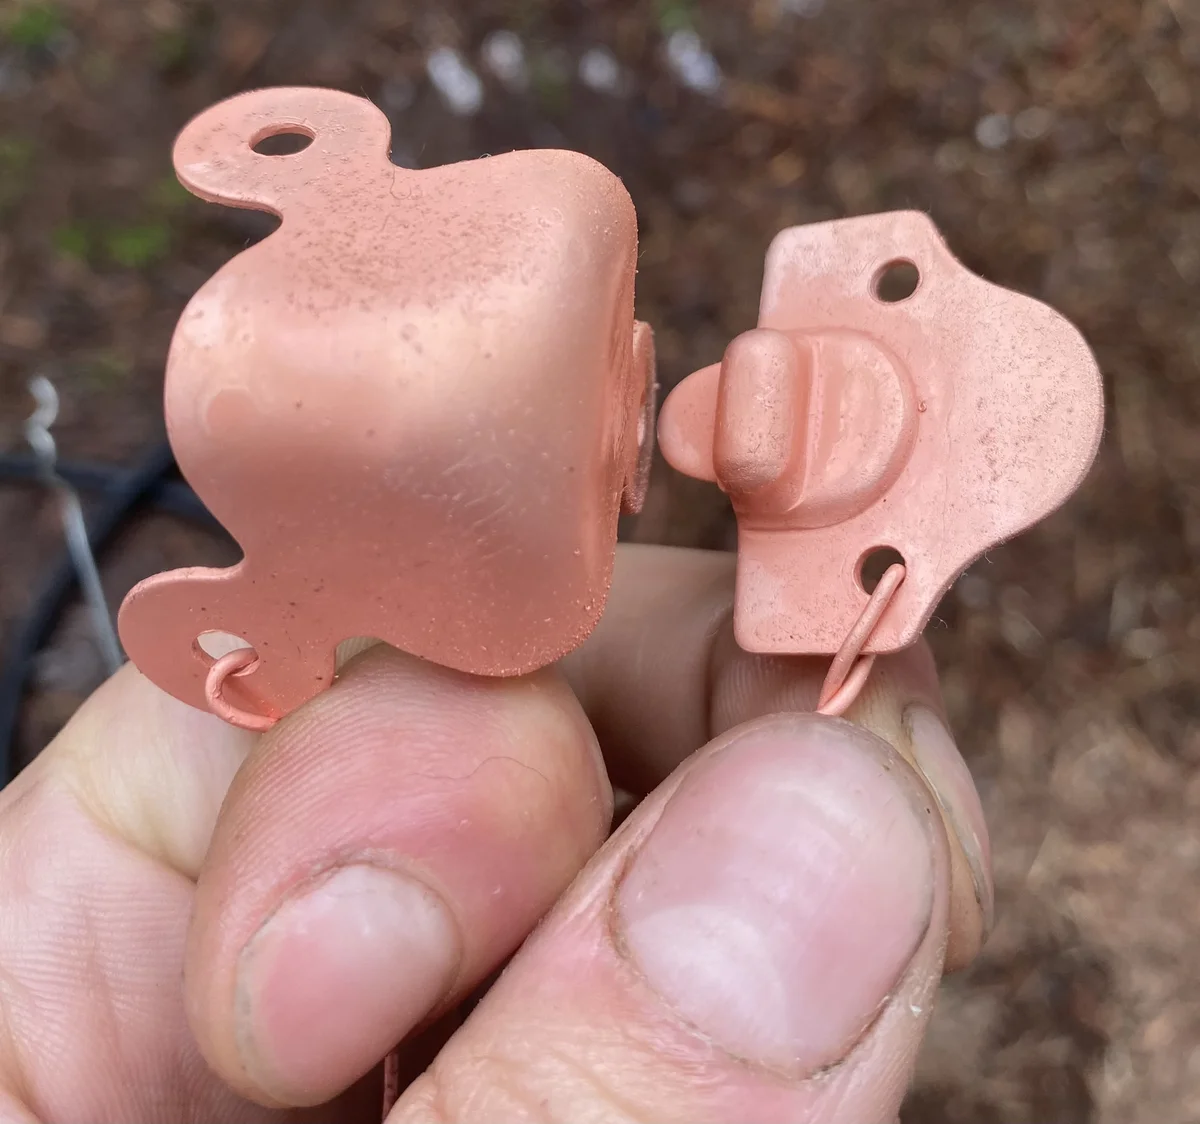
Other parts had some issues with the copper plating. I think I may have been pushing the current too high in general. I would get some burned-looking spots nearest the anode with rough looking plating. Some of the parts came out looking great, but the plating peeled off like foil. No matter how well I cleaned the surface, the copper wouldn’t uniformly stick.
I’m also not sure if my solution was quite right. I found that dipping any metal object in the solution would cause it to immediately plate even without an anode and power supply. In most cases, the copper would slough off the dipped objects though.
I got fed up, and decided to go ahead and nickel plate the parts. I purchased a nickel chloride + boric acid + proprietary additive solution. The instructions specified to keep the temperature about 50-55C, so I placed the solution vessel in a heated water bath. I found that low current 0.05-0.2A seemed to work best for individual parts. I also found that the solution would become more basic over time, and I needed to periodically add a few drops of battery acid to maintain a low pH.
If I tried to plate with higher current or if I allowed the pH to rise close to neutral, the parts would get a thick black coating. I would have to chip off the coating and start over.
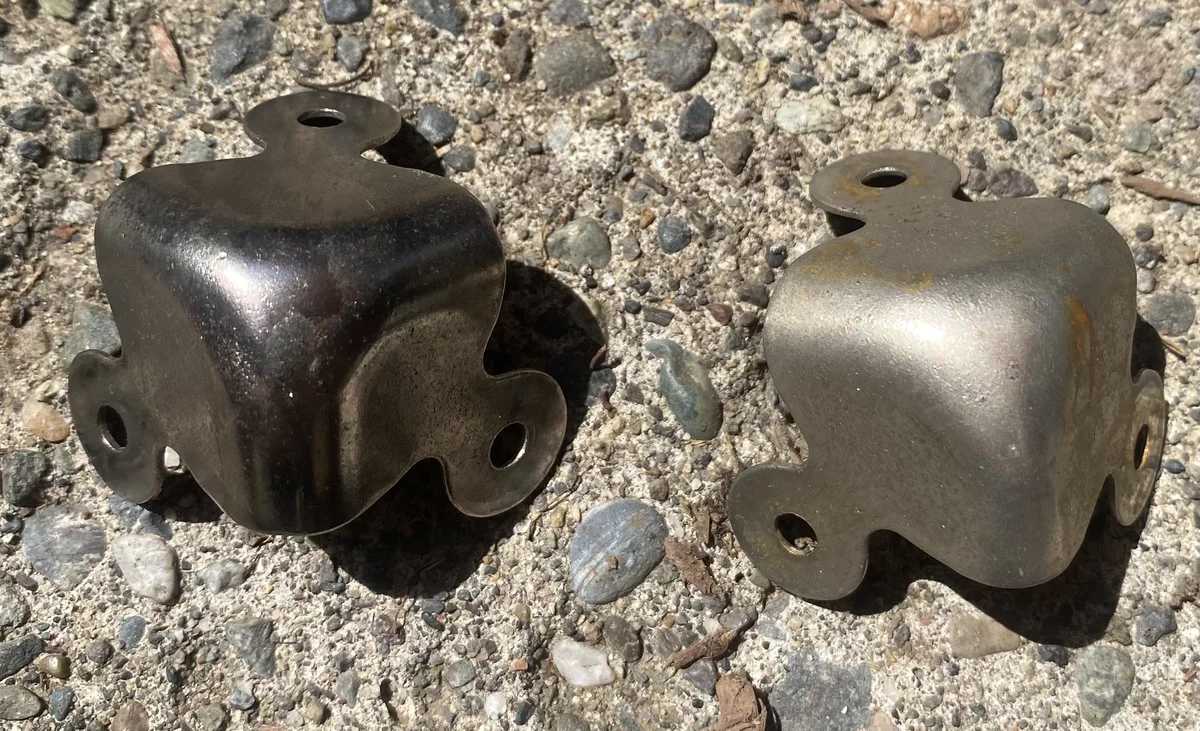
In general, the nickel plated fairly well regardless of whether there was a copper base coat or not. The key seemed to be low current and more time.
Fasteners
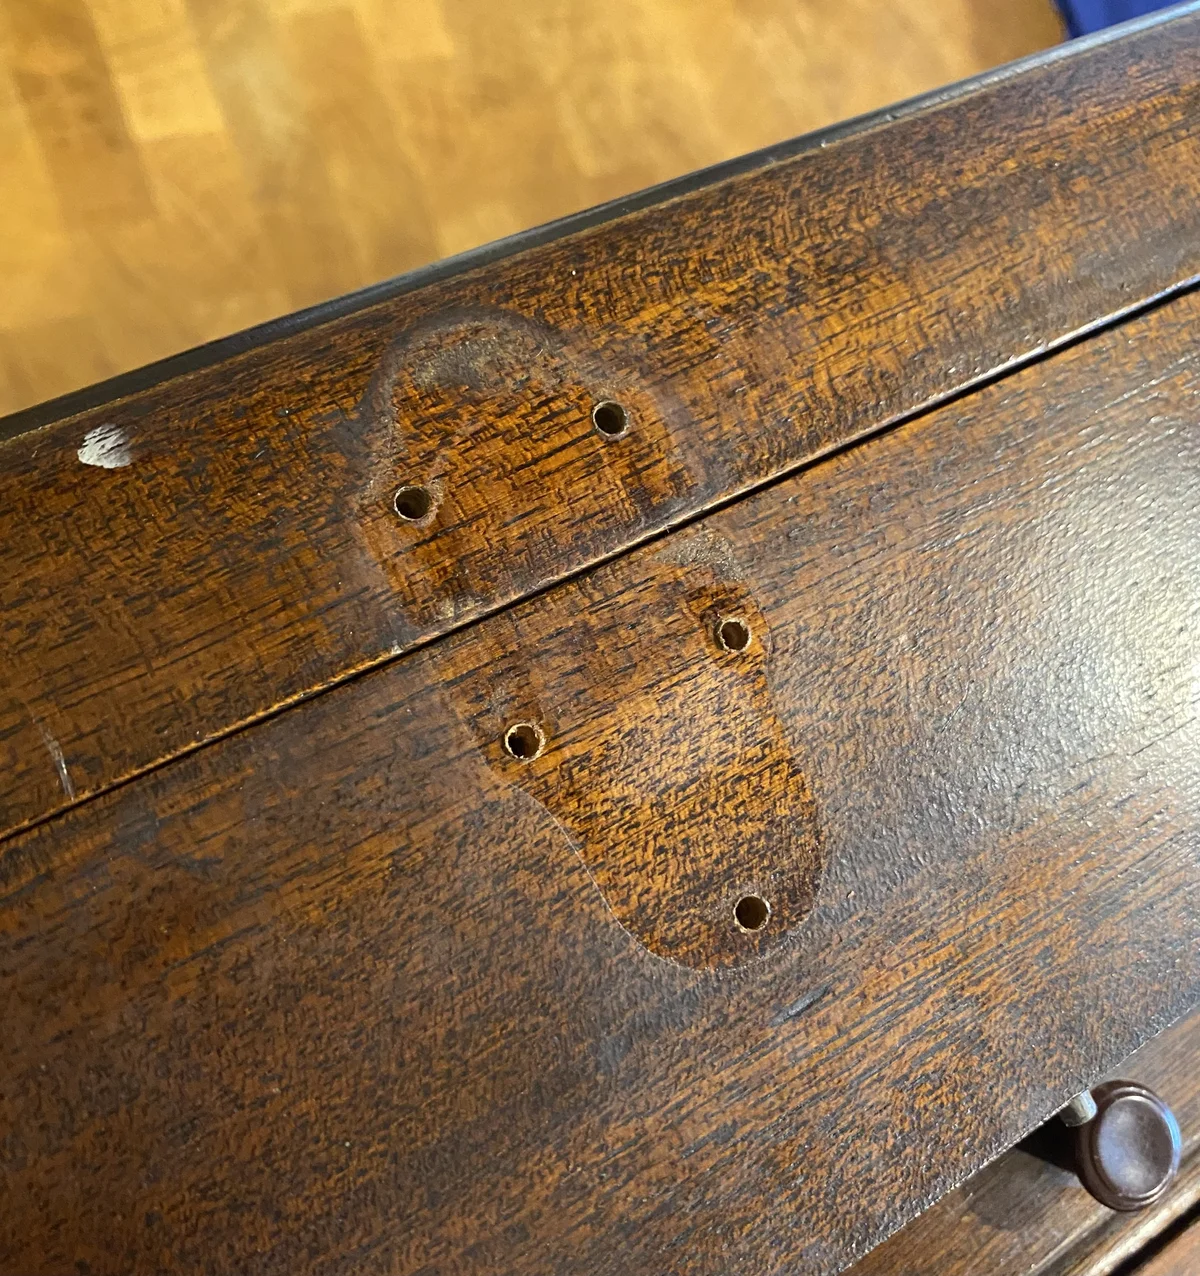
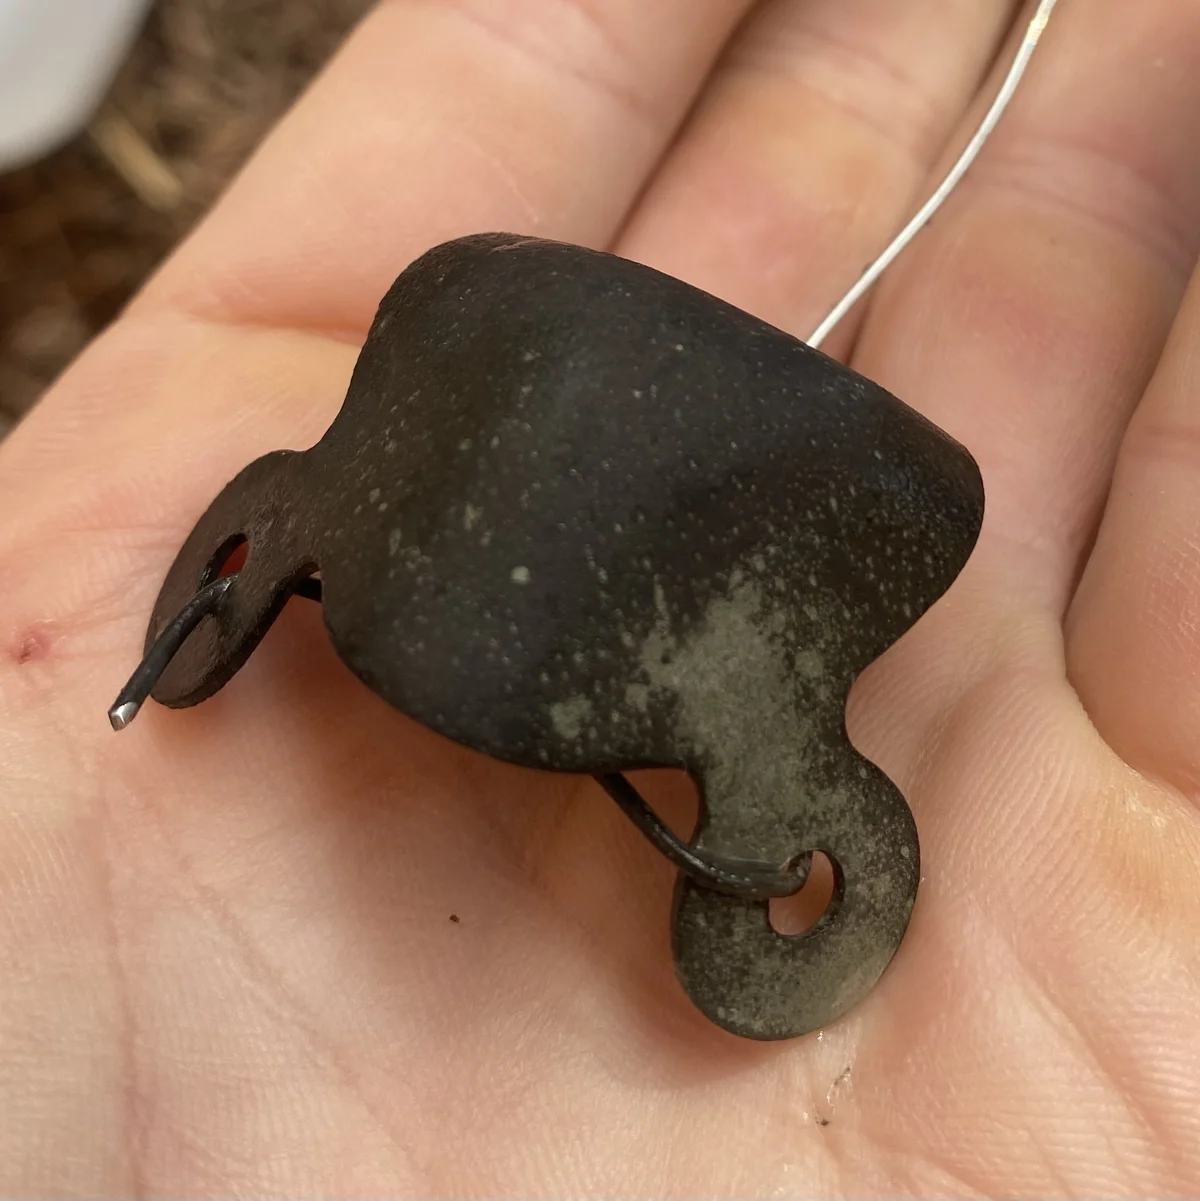
The lock, hinges, and handle were attached with split rivets, whereas the rest of the hardware was attached with small screws. The split rivets provided a more secure attachment that couldn’t be easily ripped from the wood or removed without access to the inside of the chest.
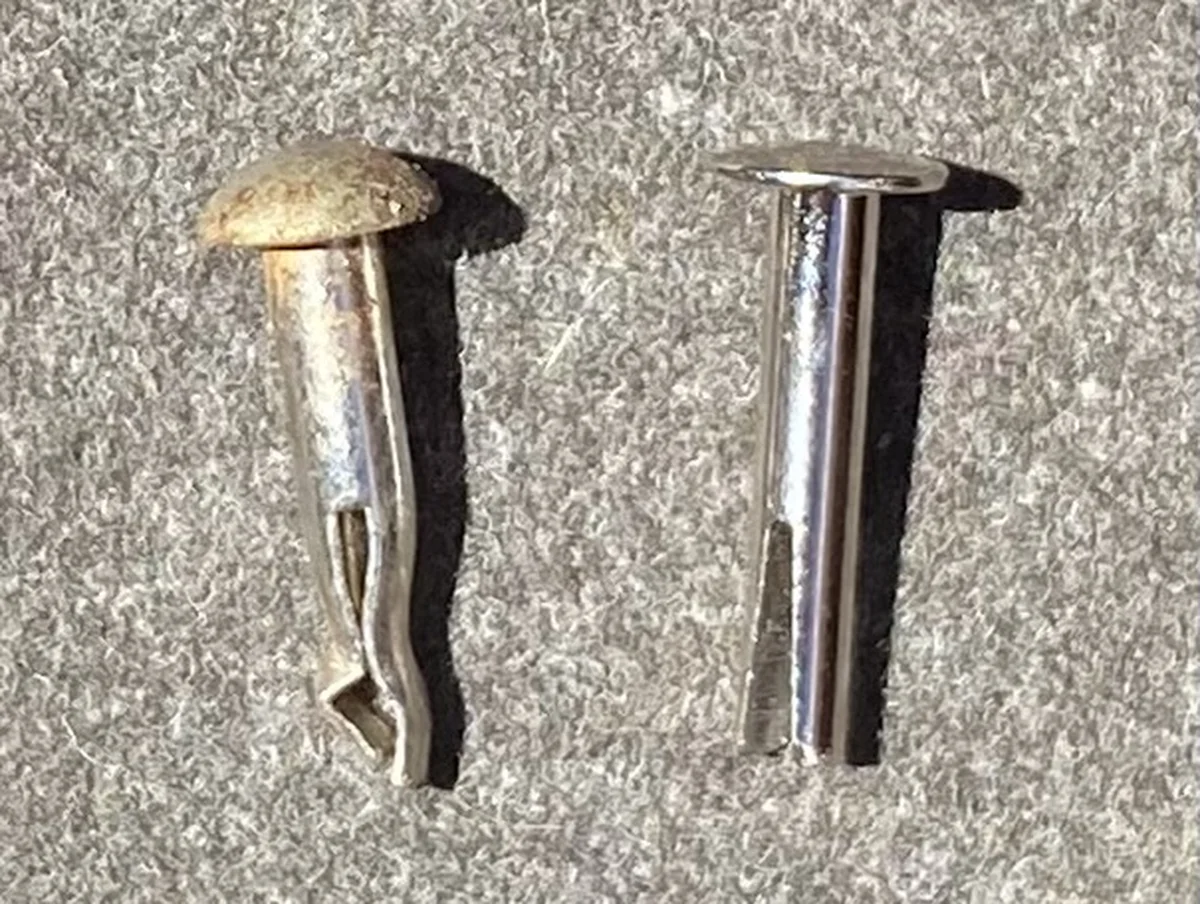
The rivets can’t be reused once removed. Bending the legs straight damages and fatigues them. Gerstner sells replacement rivets for $2 each in lots of 5. The idea of spending $40 on rivets hurt enough that I found an alternative pack of 100 for $18. As you can see in the picture, the alternatives have a lower profile head than the original, but they are otherwise an excellent match.
The replacement rivets are also nickel plated, but they appeared way too shiny to match the aged look of the other nickel hardware. I rapidly aged them by dipping in hydrochloric acid with the rivets as anodes and a steel rode as cathode. With 3A running through, the rivets darkened to match in a few seconds each. I came up with the idea while messing around with my electroplating setup, so I don’t know how advisable this is.
I found a very old-looking pack of nickel-plated screws on eBay and used these as replacements for the rusted ones I removed. The replacements were old enough that they didn’t require any artificial aging!
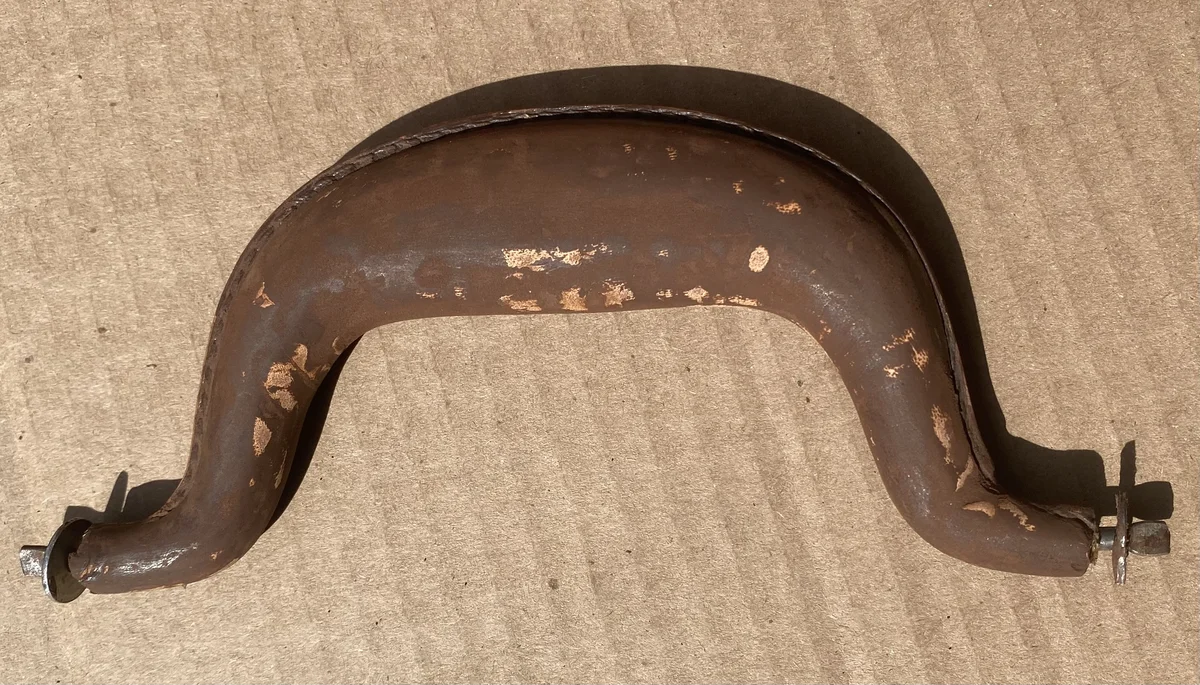
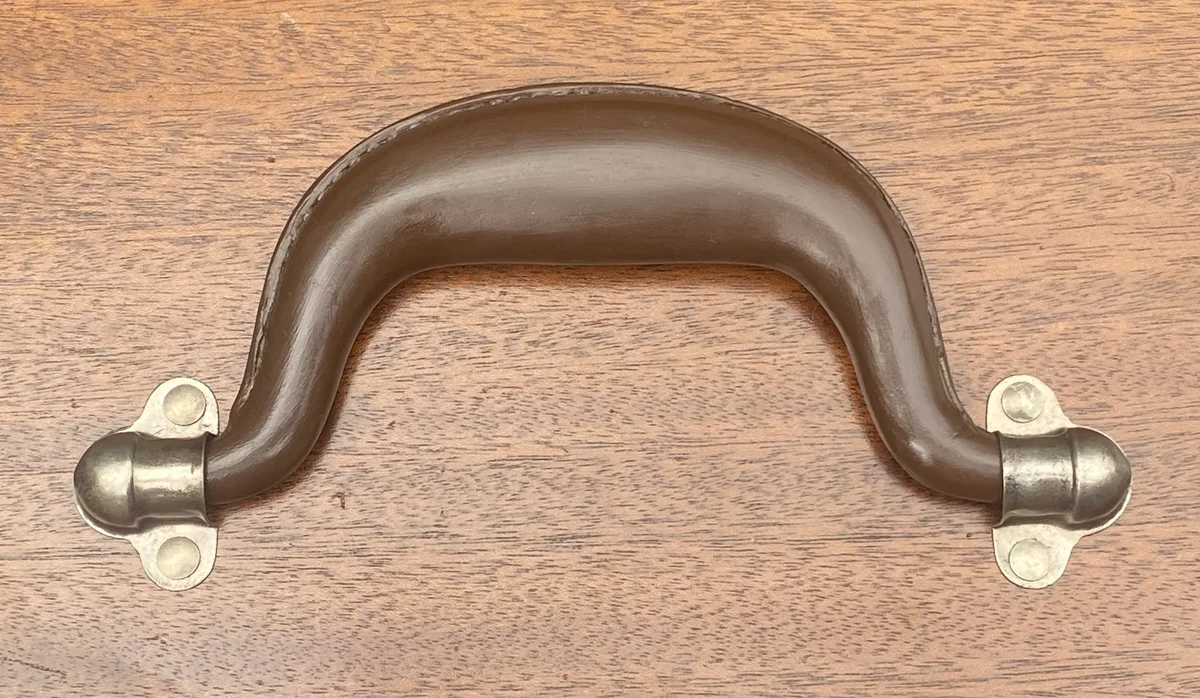
Refinishing the Handle
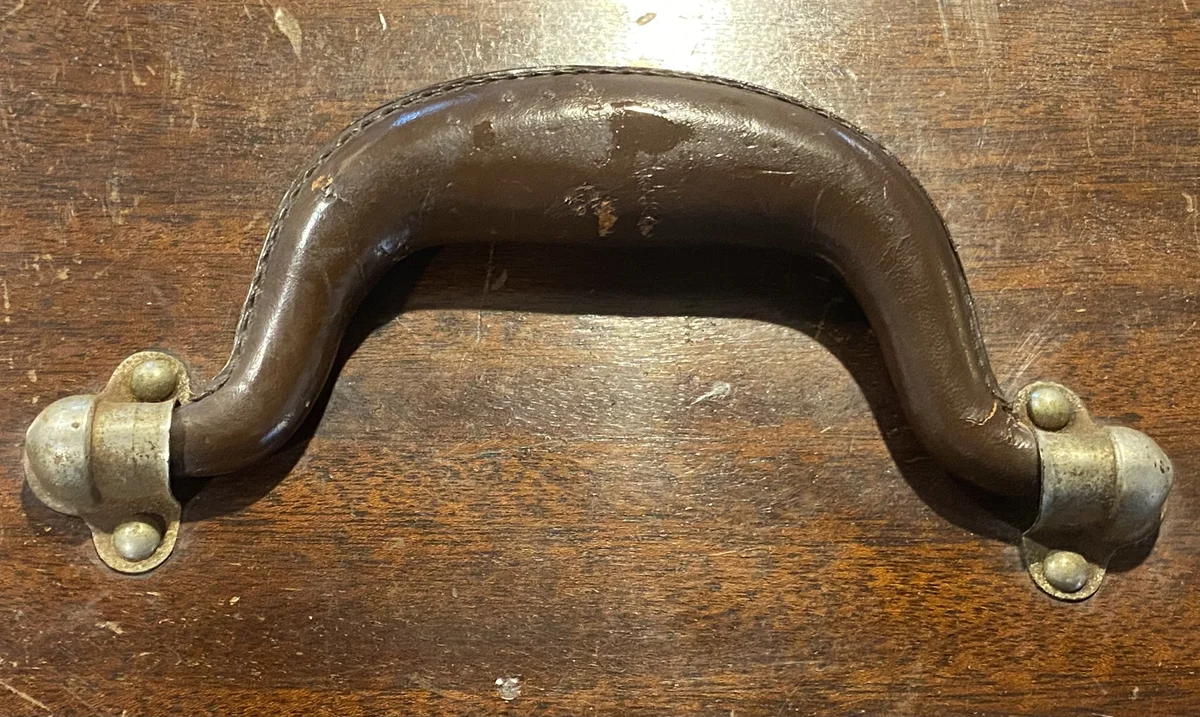
The leather handle had some cracks and scrapes. It also seemed dry and brittle around the cracks. I sanded the handle down and used Angelus leather filler to smooth it out and fill the cracks. I mixed some of the filler with their acrylic leather paint to match the color better.
Afterwards, I sanded and applied a full coat of the paint. Brush strokes are slightly visible, but I’m generally pleased with the result.
Replacing the felt
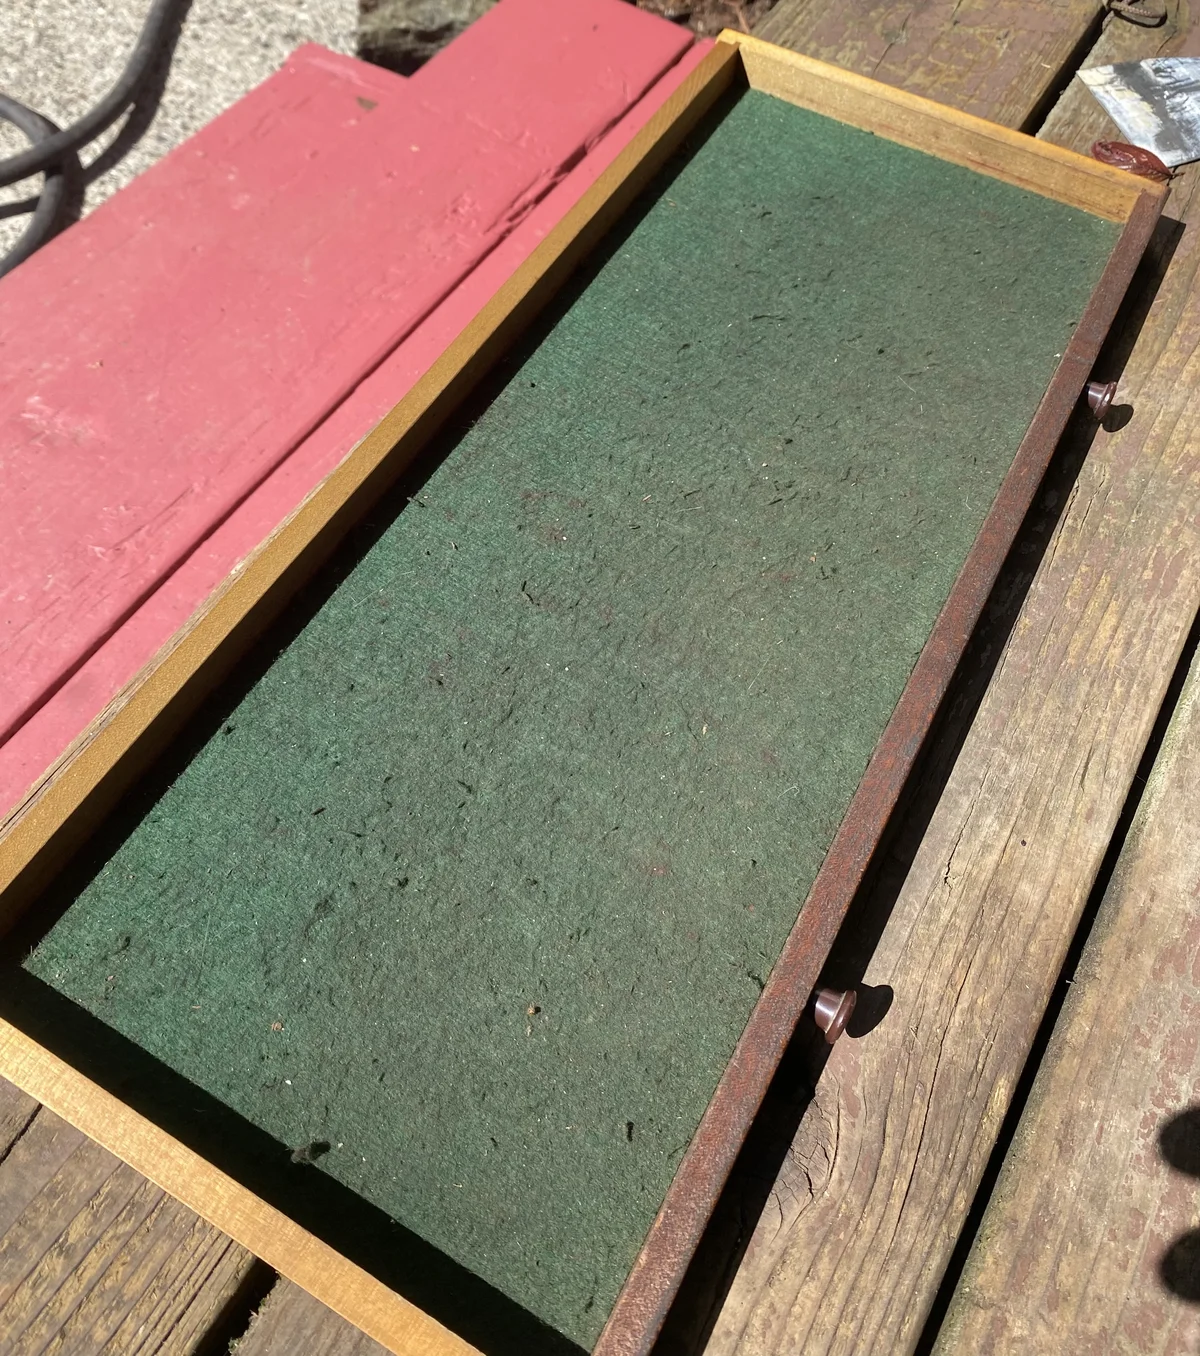
Gerstner sells replacement felt, but it seemed very expensive at $60 for a roll of acrylic felt. This is probably sacrilegious, but I also don’t really like the shade of green they use. I already had some wool felt from a previous sewing project. It was formerly part of a blanket that I bought from a sewing re-use store.
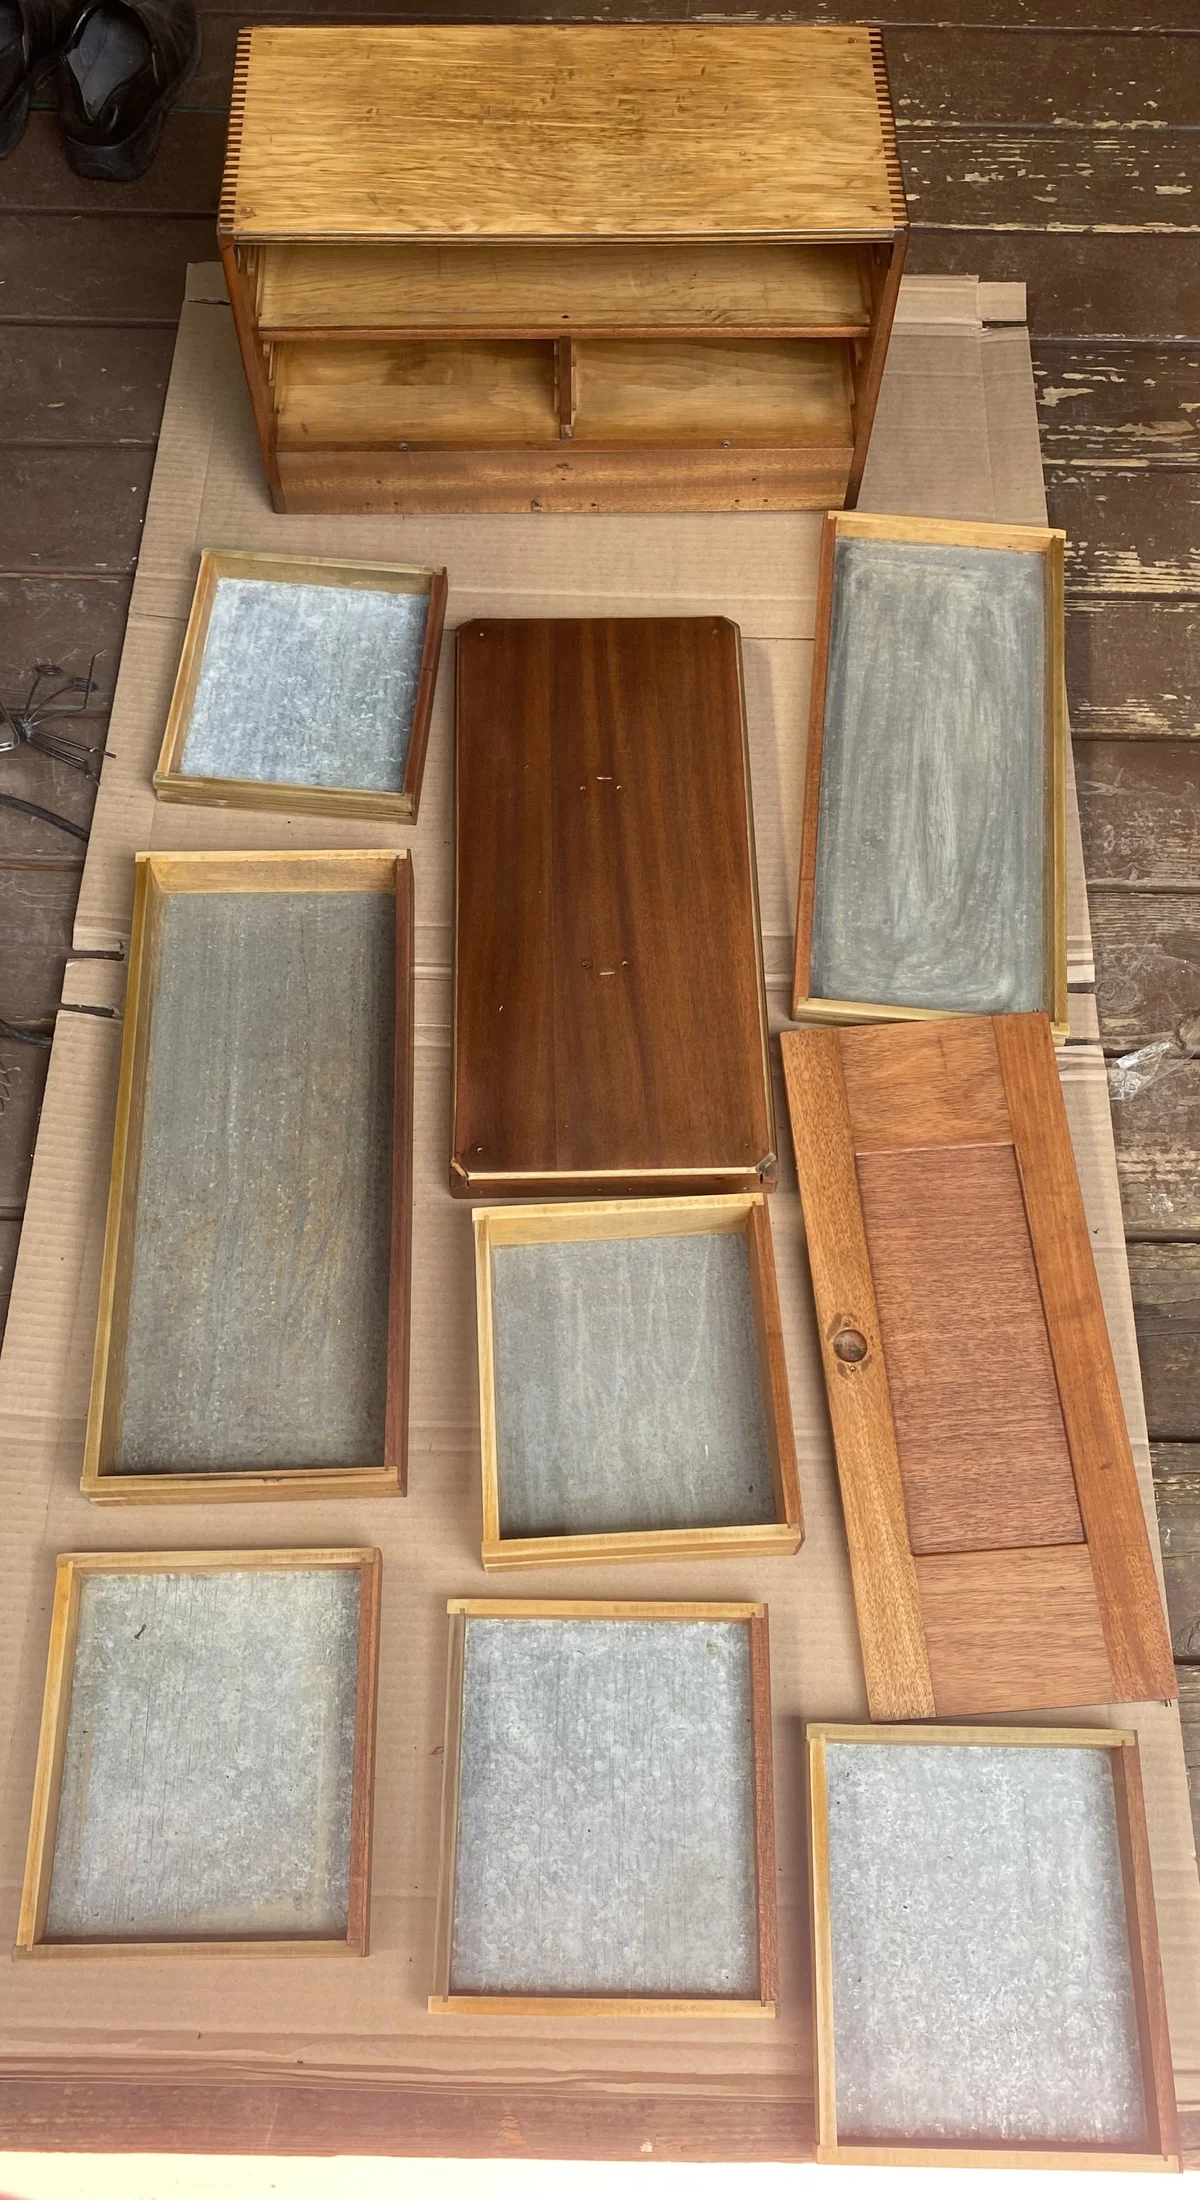
The old felt came out fairly easily with water and heat. It did not come off in single pieces though, so I had to make some patterns for the new felt. I read online that the subtle differences in the drawer interiors meant that simply taking length/width measurements wouldn’t be good enough.
I used some paper grocery bags to make the patterns. I used an approach I read on a forum where you cut the paper to the outside dimensions of the drawer, then cut in from the corners a little bit (along the diagonals of the paper rectangle). You can then push the paper into the drawer and fold the edges down to match the inside. I pinned the paper to the felt then used a straight edge with a rotary cutter (cloth pizza cutter) to cut the felt. This was all relatively time consuming, so I would love to learn that I did this in a stupid way.
I used a 3M spray adhesive on the back of the felt, and smoothed it into the drawers. For one of the really long pieces that wrapped around the interior sides of the box, I used a contact cement to avoid getting spray adhesive everywhere. For any spots where the felt stuck out a little bit, I used a surgical blade to shave it down to flush. I syringe injected more glue under any edges that weren’t well-adhered.
I ended up ironing the felt before cutting it out, after cutting it out, and after gluing it. Ironing after gluing actually helped more than I expected to smooth out small wrinkles. I really like how it turned out! Hopefully the felt stays in place for the long haul.